Pinpoint Push Notification on Ios App Swift Read Payload
iOS Dynamic Push Notifications with AWS Pinpoint
Path to Push button Notifications
Button Notifications are key to engage your audience with your app. In this tutorial, I volition walk over the steps on how I implement push notifications with amazon web services for iOS apps.
In order to follow this series you need to have:
- Apple tree Developer Account
- Amazon Web Services Console Account
The unabridged lawmaking will be in Swift and the IDE is Xcode.
In a nutshell, these are the steps:
- Create a signing certificate locally on your mac
- Create a Push button Notification certificate in your Apple Developer Account
- Create an iOS app in AWS'south mobile hub
- Add a database & messaging functions to your mobile hub
- Upload apple's push notification document to AWS and update your app's code every bit well as AWS settings
- Build the app, annal it and distribute it for Ad-Hoc
- Install it on your phone
- Trigger a message, through your app or an external consequence
Many steps are necessary in order to have the notification pop up in your app. However if you follow this tutorial yous will be able to save some time figuring it out by yourself.
Dealing with Certificates
Creating a signing document
Before you tin do annihilation you need to create a signing certificate. In lodge to do and then, yous need to open your keychain on your mac. Simply search (cmd & infinite) for "keychain" and it will open up.

Follow these instructions: Keychain Access > Document Assistant > Create a Certificate.
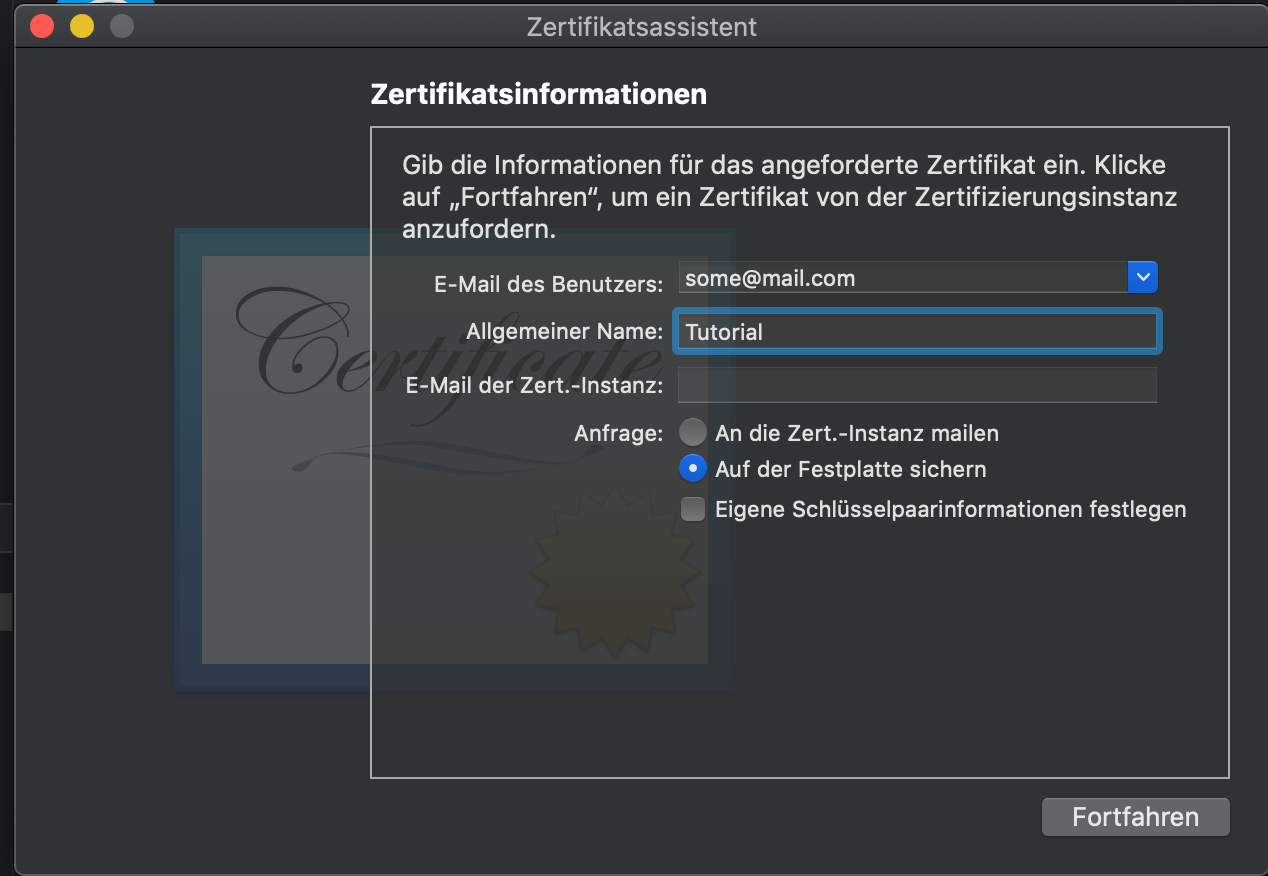
One time you have saved your document you are ready for the side by side stride.
Apple gives pretty straight forwards steps on how to create a signing certificate. Y'all tin follow this link here if you want to read the original.
Push Notification Document
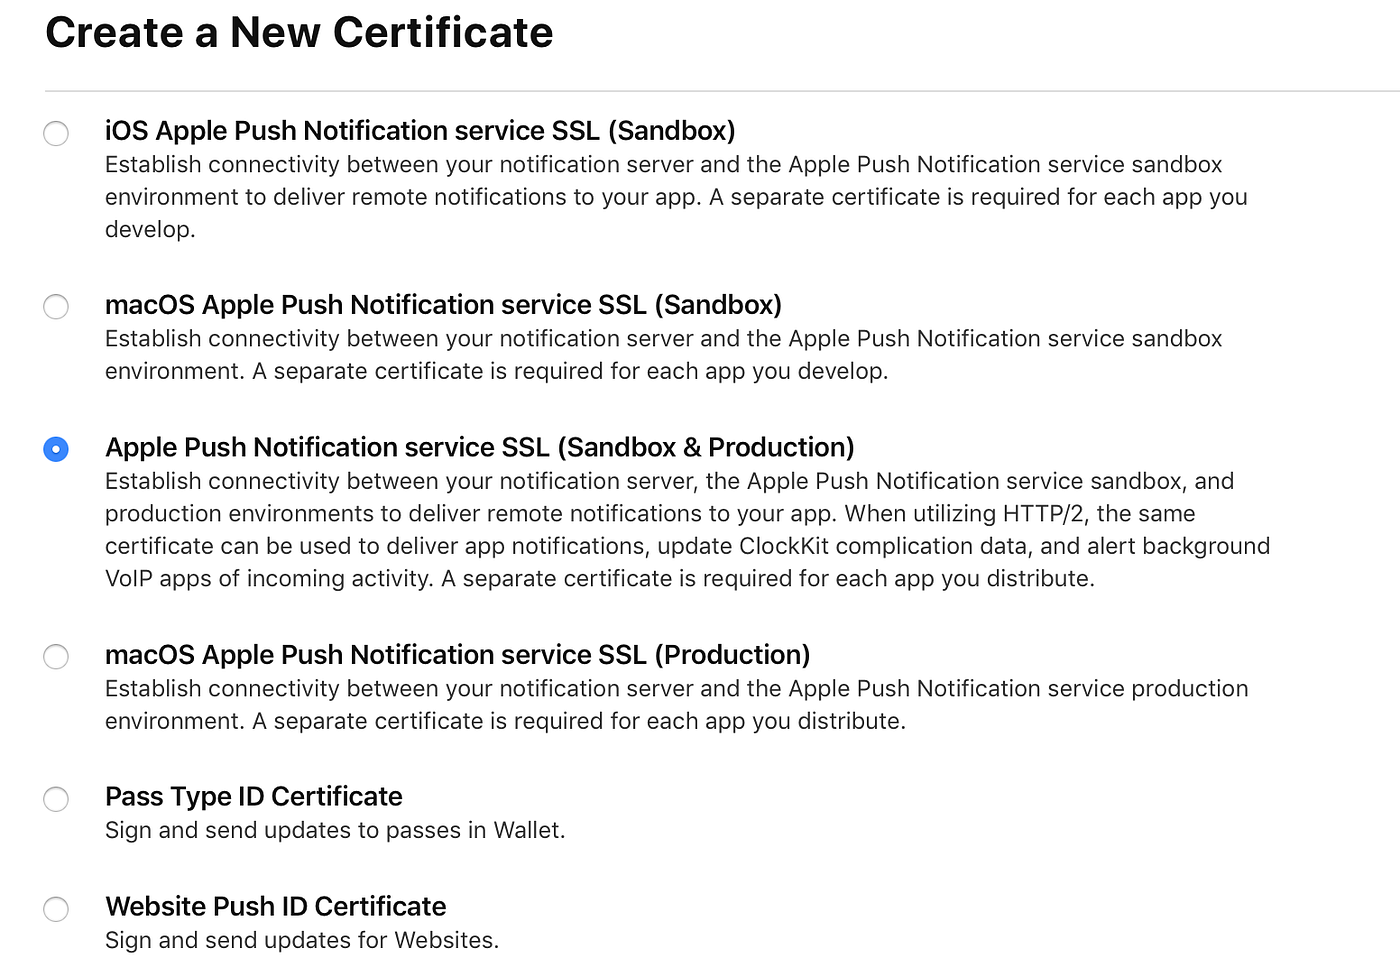
There are ii types of Push Notification Certificates:
- Sandbox
- Sandbox & Production
Don't bother with the first type for AWS because it's likely non going to work. Permit's go to it.
Go to your apple developer business relationship and open the certificates section.
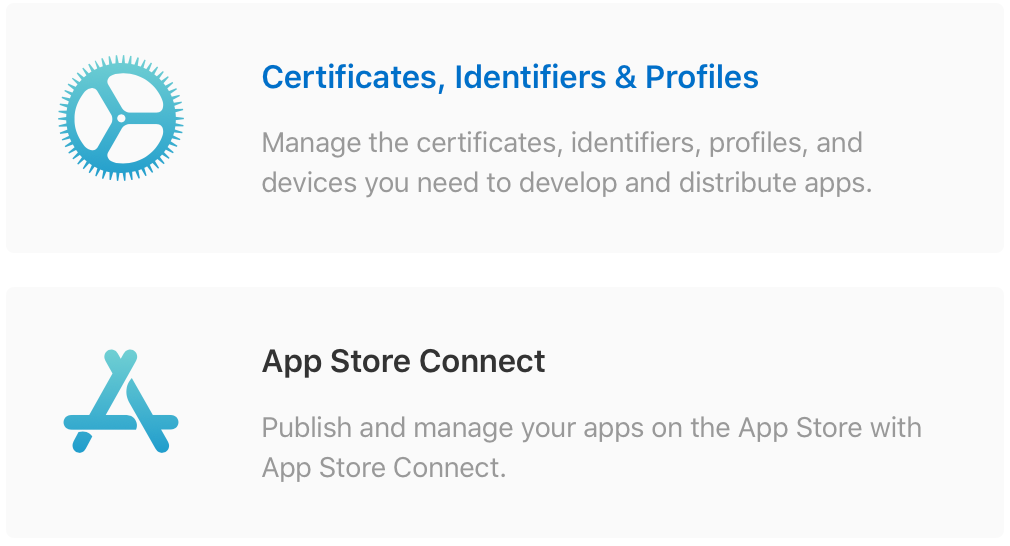
Click the plus button in order to add together a certificate. Chose the only document that will work with AWS -> Sandbox & Production.
Blazon in your app's package ID, that is unique for every app and can be found inside your XCode projection. When starting a new project the packet id should be saved and exist available inside your developer account to chose. All the same I've made the feel that this won't e'er work. If this was the case I would advise you to create an parcel id within your apple tree programmer account and overwrite the erstwhile one inside your XCode project.
Once yous've created your certificate, download it and salvage it locally. You will need to upload information technology afterwards to AWS.
Fix Push Notifications for AWS
AWS microservices likely give y'all multiple options to implement push notifications in your app. However the "Mobile Hub" makes building a backend for mobile apps quite easy. This also holds true when implementing push notifications. Since nosotros have already created the iOS button notifications certificate from apple, we can now proceed with building the backend. If yous read this department and yous are developing for android, you lot can do so, since the next steps are universal.

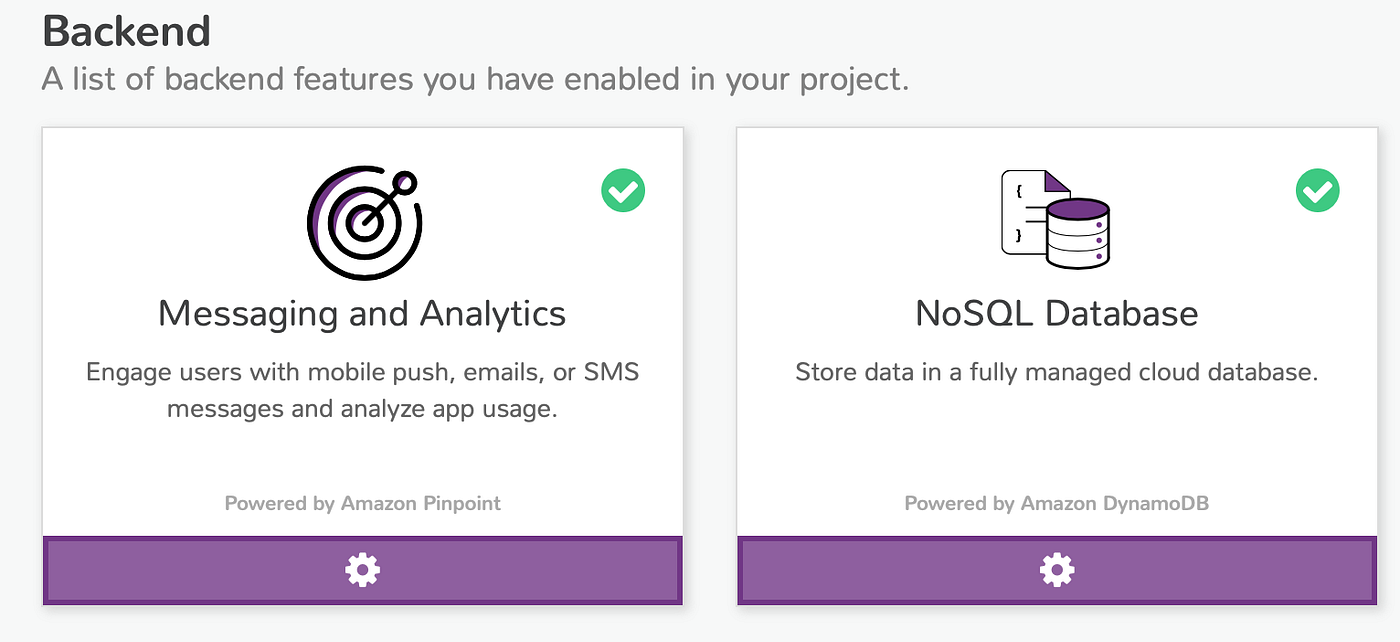
In social club to utilize push notifications, we need at least 2 microservices, Messaging & Analytics and Database. These two services are chosen Amazon Pinpoint and DynamoDB and can be selected from your "Mobile Hub" start screen.
Database
The NoSQL database will be needed to store information about your users, that should receive the push button notifications. The most important entry, that we will create, is the device token. This token is the address to the telephone, kind of like a phone number, that is used in order to deliver the push notification. If you want to consider the fact that a user might accept several devices you might want to save a list of device tokens, based on the devices. Another useful entry could be the blazon of device e.g. iPhone, iPad, or the Bone similar iOS 12 or Android.
In order to create a database but click on the NoSQL database button and follow the instructions:
- Select Custom
- Selection a name
- Set it to public
- Keep userID or change to username as commencement column
- Add a String Listing with the proper name devicetoken
- (Optional) instead of the listing yous could add a lexicon or some blazon to include the device blazon
- Create the table
Messaging
In that location are 2 means of sending push notifications with AWS. Ane style is using the Elementary Notification Service (SNS) and some other way is using amazon Pinpoint. We will use Pinpoint for sending a notification because it is super simple. Still, in guild to trigger a notification, we will demand to use amazon's Remainder API. This tin can exist kinda confusing when working in swift. I volition write nearly triggering a notification later on in this series.
Again click the button for Messaging & Analytics, chose messaging and follow the steps. In the end, you should upload your certificate from apple tree (we created earlier). Upload the certificate and see if it was accepted by AWS. If not, try to see where the problem is and maybe even redo the document.
Update your App
Now that the backend is ready, yous need to connect your app to information technology. Go back to your "Mobile Hub" start screen for your current app and click on integrate.
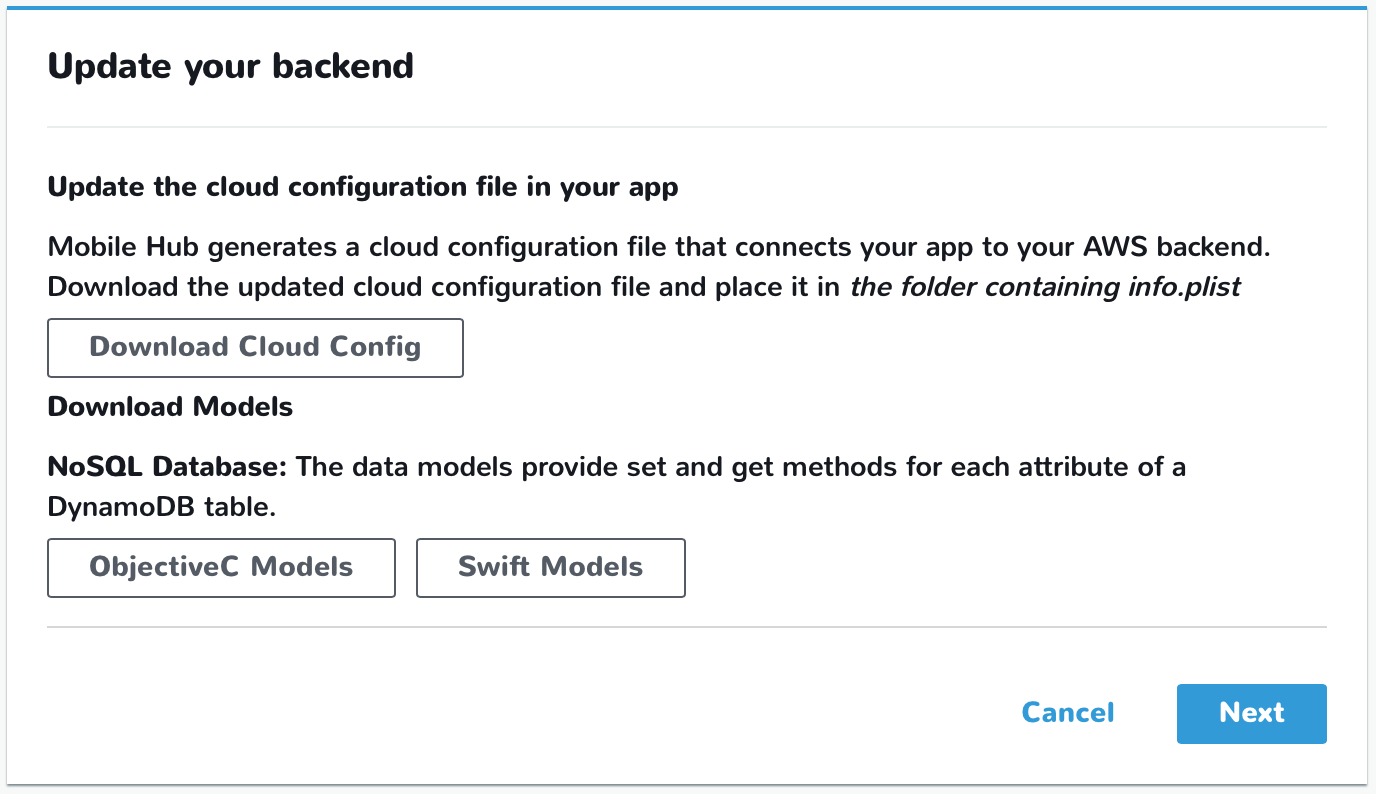
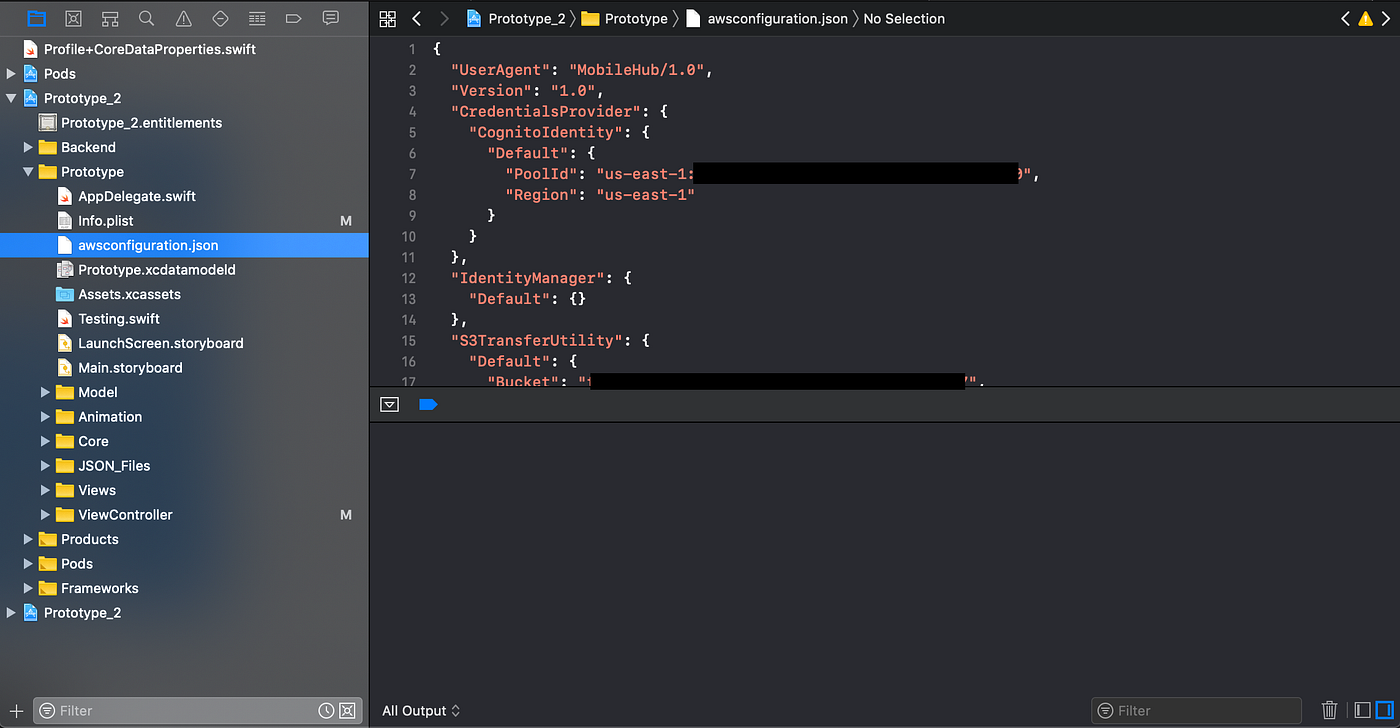
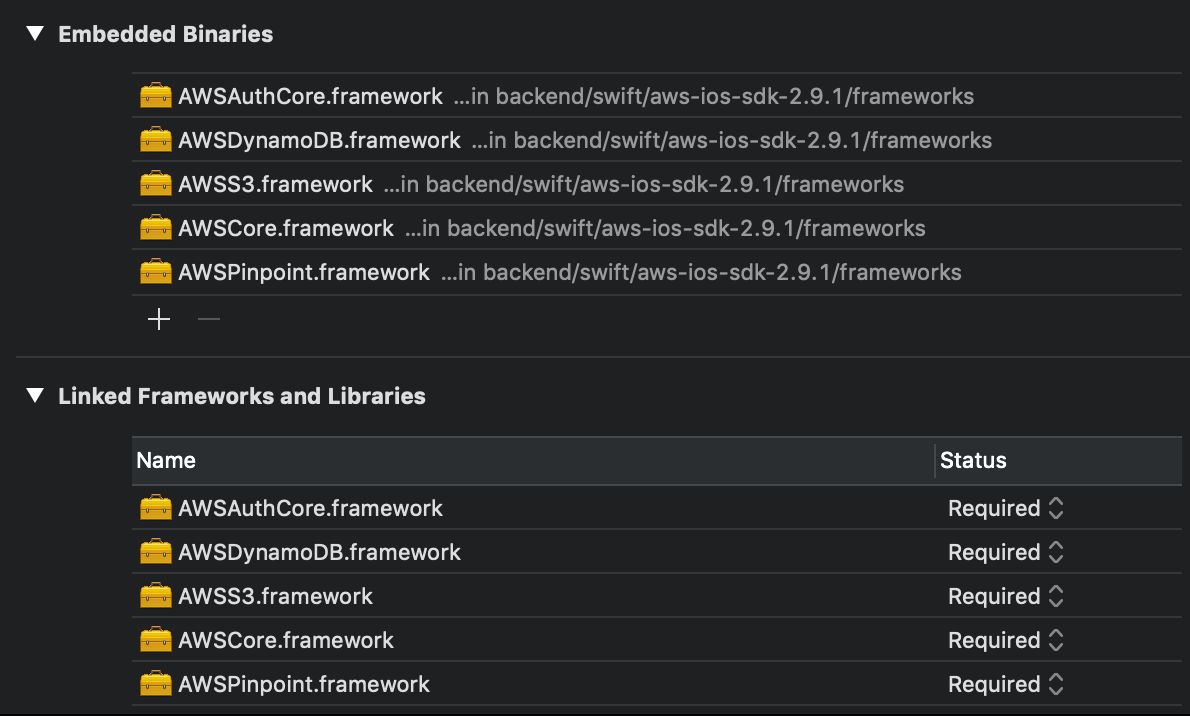
After you have added the config file and the database class for your device token table, yous need to add some code in society for information technology to work. Amazon gives you articulate instructions on how to include the libraries to your projection. Still, when working with Swift and XCode it is the best to statically insert the libraries to your project. On XCode but click on your project to meet the project navigator, go to the General Tab and scroll down to Embedded Libraries. Add all these libraries except for S3.
These are the instructions for the necessary code for each element yous demand.
- Database
- Push Notifications
Once you've added the code you are theoretically good to go. In the next section, I will show you the best style to examination your implementation.
Send First Push Notifications with AWS
Afterwards creating our certificates and preparing the backend, nosotros tin can now start and ship some notifications 👏
To ship a notification we demand the device token of our device. This token can be read by adding this piece of code in your app'south AppDelegate. Before continuing with dynamic sending, let's exam if the service works.
func application(_ awarding: UIApplication, didRegisterForRemoteNotificationsWithDeviceToken deviceToken: Data) { pinpoint!.notificationManager.interceptDidRegisterForRemoteNotifications( withDeviceToken: deviceToken) let tokenString = deviceToken.reduce("", {$0 + String(format: "%02X", $1)}) var deviceToken = deviceToken.hexEncodedString() print("deviceToken: \(deviceToken.hexEncodedString())") }
Brand sure that you implemented the code that asks whether the app can transport notifications. Put this code inside the viewDidLoad of your outset viewController.
center.requestAuthorization(options: options) { (success, error) in if success{ print("user granted permission")} else { impress("user denied permission") } }
Run your app on your device. The simulator won't work. Take the pop up that asks for permission for notifications. Salvage the device token and get to the AWS Pinpoint Panel. Inside the "Mobile Hub" in your app'due south start screen on the top right there are two links — analytics and resources. Click on resource and then on Pinpoint (or the link presented nether pinpoint). Chose your app and go to examination messaging. Chose Push Notification, enter your device token and a test message. Close your app, since it won't receive any notification if it'south in the foreground. Now click send and watch your first Push Notification appear. Sometimes, this notification is silent. Dropdown your Notification Center and encounter if information technology might be present, in the case y'all didn't see it coming after 1 infinitesimal.
If you lot have received the message, you are ready for the adjacent step!
Send Push Notifications dynamically
Sending button notifications needs to happen dynamically. In order to exercise this, nosotros demand to phone call the Residuum API from AWS Pinpoint. The device token that yous collected in the previous stride won't exist the aforementioned one yous volition accept when deploying the app. And the Rest API will not send whatever notification to a sandbox device. Therefore we need to create a production version and load it to the phone in gild to receive button notifications. This is catchy because we can not print out the device token in a production version. 🤔
Luckily nosotros have created our DynamoDB database! And now it'south fourth dimension to apply information technology. We will store the new device token within our user table.
- Salvage the token as a global variable inside your app's delegate
- Create a userItem and fix it's token variable to your token. userItem._token = appDel.deviceToken
- In instance yous have a String List insert it into the existing list.
- create a db entry by calling the post-obit code.
//Save a new item dynamoDbObjectMapper.save(userItem, completionHandler: { (error: Error?) -> Void in if let fault = error { print("Amazon DynamoDB Save Mistake: \(fault)") return } print("User \(userItem._userName!) has been updated") })
Start the app and check whether something was written to your tabular array.
In order to send notifications through the API, you volition need your secretAccessKey and accessKeyId from aws. You can download them in one case in your personal account infinite in the Identity and Access Direction (IAM) section.
This guy did a nifty task writing the code for us. Go check it out and use information technology. Your graphqURL can be constructed explained in the AWSDocumentation. The device token should be retrieved through your apps logic, e.g. fetching a user from the DB and inserted into this role together with the intended message.
private static func create_APNS_Body(_ address:String,_ message:PushNotificationInfo)->String { let context = "\north\"Context\":{}" let addresse = "\n\"Addresses\":{\"\(address)\":{\"ChannelType\":\"APNS\"}}" let Endpoints = "\n\"Endpoints\":{}" let apnsBody = "\northward\"Body\":\"\(bulletin.text)\"" permit apnsSubs = "\n\"Substitutions\":{}" let apnsTitle = "\n\"Title\":\"\(message.title)\"" allow apnsAction = "\n\"Action\":\"OPEN_APP\"" allow apnsUrl = "\north\"Url\":\"string\"" allow apnsSilentPush = "\n\"SilentPush\":simulated" let apnsData = "\n\"Data\":{}" let apnsBatch = "\n\"Badge\":0" let apnsSound = "\n\"Audio\":\"default\"" let APNSMessage = "\northward\"APNSMessage\":" permit MessageConfiguration = "\n\"MessageConfiguration\":" permit open = "{" let close = "}" permit comma = "," permit body = open + context + comma + MessageConfiguration + open + APNSMessage + open up + apnsBody + comma + apnsSubs + comma + apnsTitle + comma + apnsAction + comma + apnsUrl + comma + apnsSilentPush + comma + apnsData + comma + apnsBatch + comma + apnsSound + close + close + comma + addresse + comma + Endpoints + close return torso }
Insert the event from this function to the HttpUtils office
HttpUtils.makeSignedRequestToGraphql(query: body) { (result) in print(result) }
And hope for a 200 result :)
You will probably get an error considering you beginning need to deploy your app.
- Build it for your telephone
- Achive it
- Distribute it as Advertizement-Hoc
- Upload it to https://www.diawi.com
- Delete the erstwhile version of your phone
- Browse the QR code from diawi and install it as a distributed version.
- Run the app to brand sure the device token is saved and notifications are accepted.
- Run your logic on some other device (can be simulator) and trigger a push notification.
Now you should receive a push notification.
Let me know if this mail service was helpful. I would besides love to hash out improve ways to practice it. :)
Source: https://medium.com/@mouroum.m/ios-push-notifications-with-aws-4bde95dfe7f4
0 Response to "Pinpoint Push Notification on Ios App Swift Read Payload"
Post a Comment